![]()
In this blog, I want to demonstrate how to setup Continuous Integration (CI) and Continuous Deployment (CD) for a Angular 5 application using Azure DevOps. I will do this by using GrenitausConsulting.com, which is my custom built web application that uses Angular 5 and is already deployed to Azure, however, at this time, it is deployed manually via FTP. The Github Repository can be found here
Caveats!
Also, I assume that you are familiar with:
- Angular 5+
- angular-cli
- Azure Portal
- GitHub
- Node Package Manager
GrenitausConsulting.com is already hosted in the Azure Cloud via a Azure Web App, so I just needed to setup Continuous Integration and Continuous Deployment in VSTS, which is now called Azure DevOps.
Azure DevOps CI & CD Project Setup!
First, I navigated to my VisualStudio.com url (Ex: [yourdomain].visualstudio.com) to start creating a Azure DevOps Project for GrenitausConsulting.com.
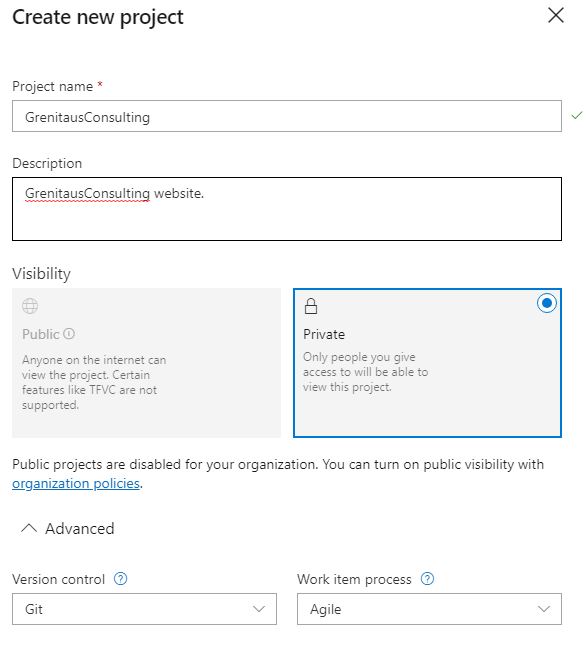
Now that I am in the VisualStudio.com portal, I created a new project:
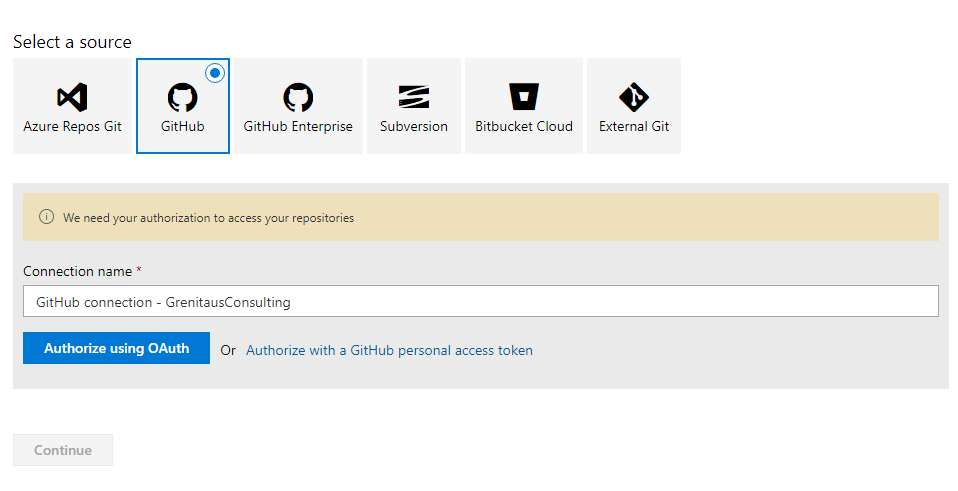
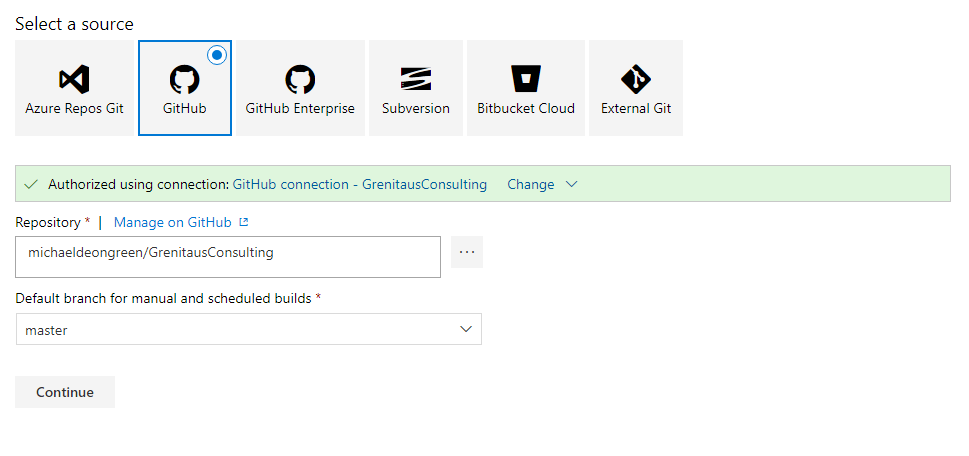
Once the project is created, on the left navigation menu, I chose “Builds” and created a new Pipeline and I used a GitHub personal access token
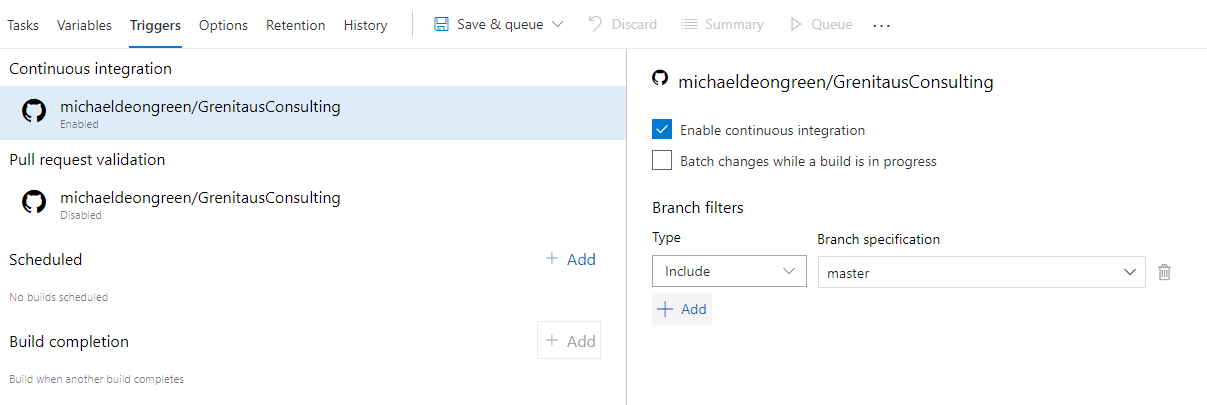
Once this is done, I pressed “continue” and chose “Empty Pipeline”. On the main Pipeline screen, I selected the “Triggers” tab and under Continuous Integration, I chose “Enable continuous integration”:
Next, under the “Tasks” tab, I chose “Agent Job 1” and re-named it to something more descriptive (I chose Build & Deploy)
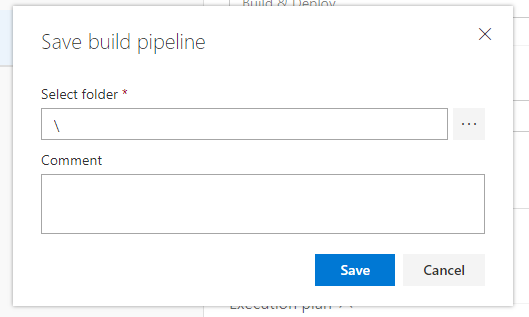
After I made this change, in the tab section, I chose “Save” (Something you will want to do periodically) and when the popup appeared, I just pushed the “Save” button:
Next, on the “Agent Job”, I selected the “+” sign, which will allow you to create tasks for your job.
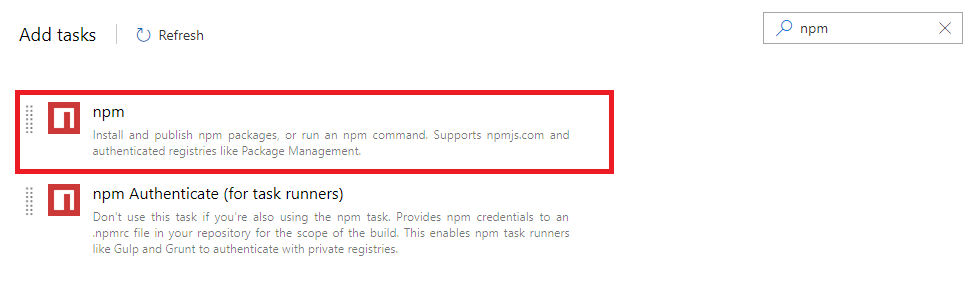
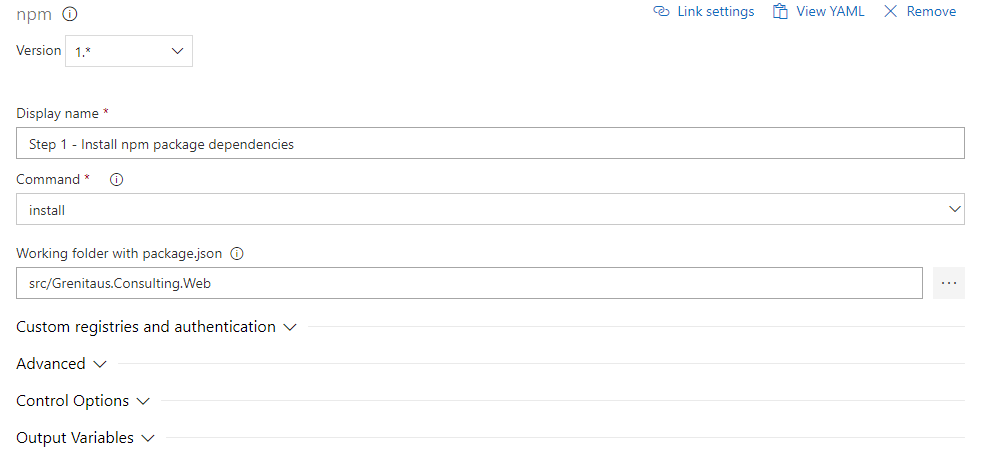
For my first task, I needed to install node package dependencies. So I did a search for “npm” and selected the “npm” task. Inside of the “npm” task, I set the “Working folder with package.json”:
Next, I needed to create a “Command Line” task to run angular-cli. Once again, I pressed the “+” sign next to the Agent Job, did a search for “Command Line” and added the “Command Line” task. Once inside the task, I typed “npx ng build” in the script window. For more inforamtion on “npx” see How to use angular-cli locally.


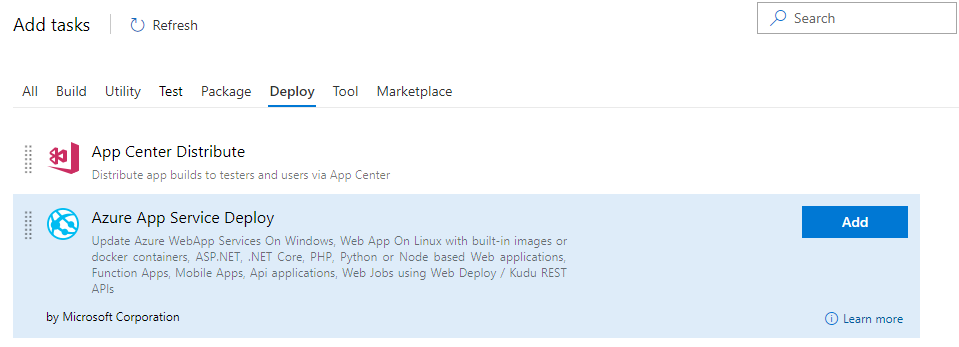
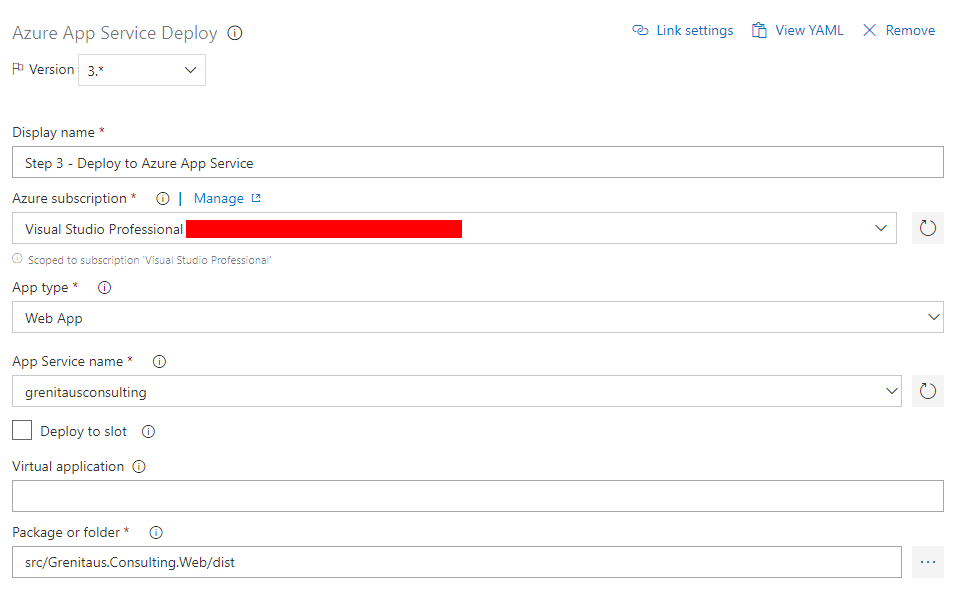
After I added this task, I added the “Azure App Service Deploy” task, which will be responsible for deploying my changes to Azure. Inside of this task, I chose my Azure Subscription, my App Type and set the “dist” directory that angular-cli should have created during the “Command Line” task:
After I created all of my tasks, I wanted to test the CI & CD Process. I did this by selecting the “Queue” option on the Pipeline screen.

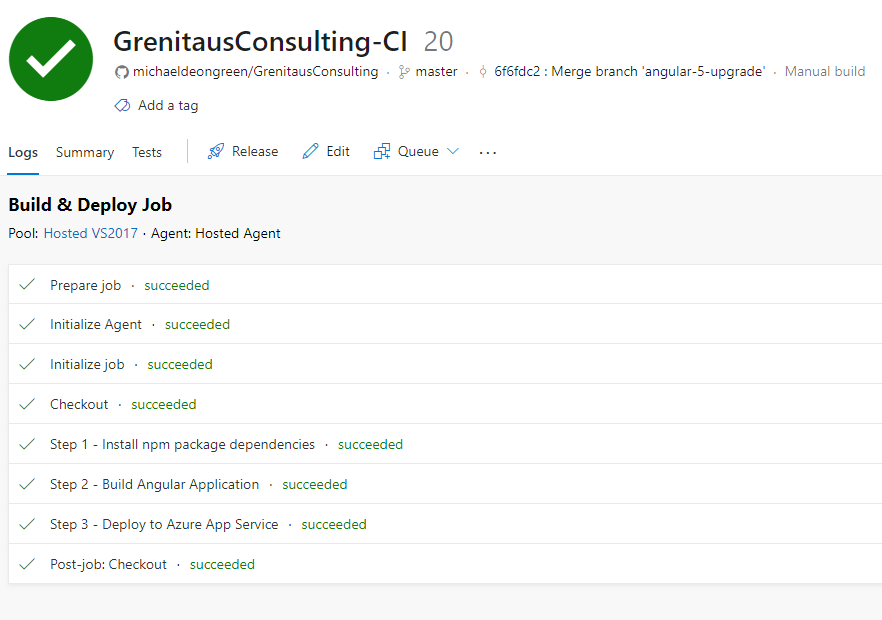
On the left navigation menu, I chose “Builds”. Once there, I chose the latest build and this allowed me to observe the output from each Agent Job Step I had just configured. Once the Agent Job completes, all of the task steps should have a status of “succeeded”:

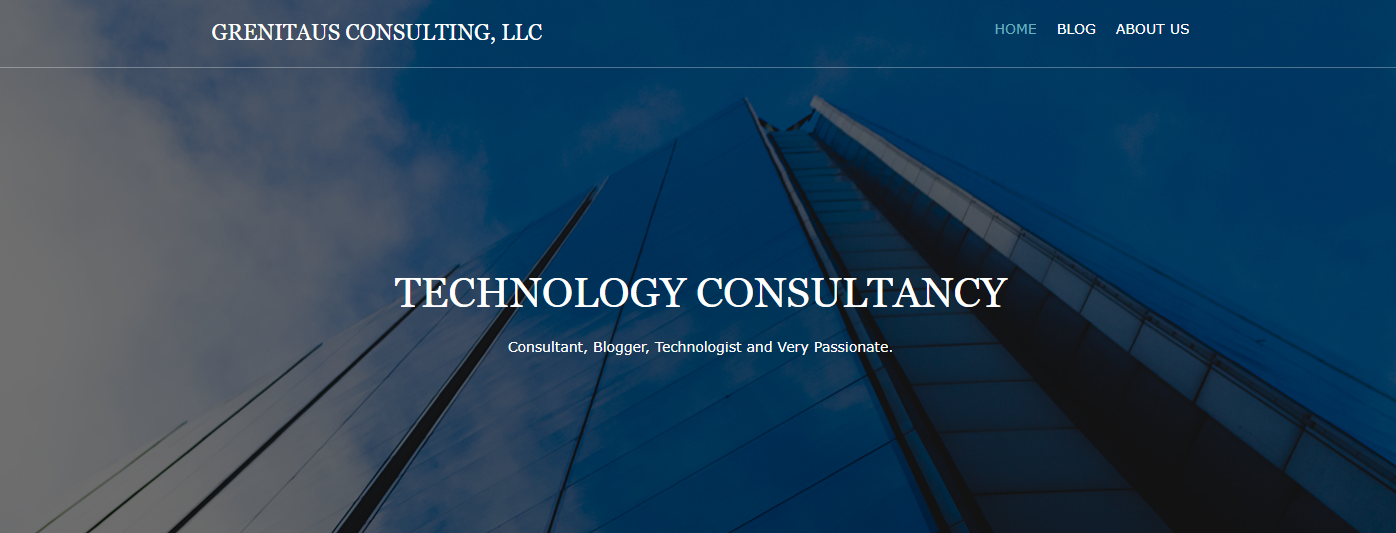
After this, I navigated to GrenitausConsulting.com to ensure that it was up and running:
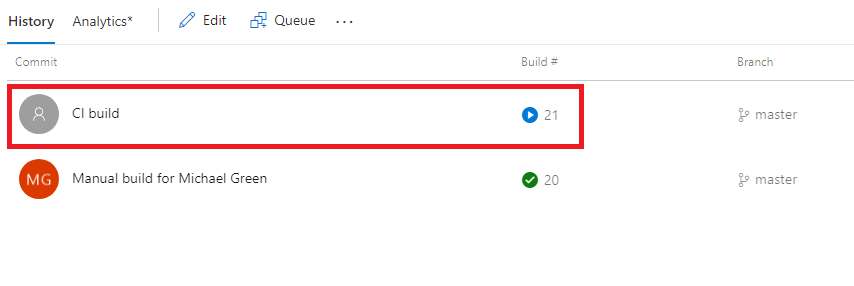
After this, I wanted to make sure that when I checked a change into the “master” branch that the “Build & Deploy” Agent Job would be triggered. So I made a trivial change and pushed the changes to GitHub. Once I had done this, I verified that there was a new build and that all the tasks completed successfully.
Conclusion!
I have always wanted to automate the build and deployment for some of my open source projects. When I learned about Azure DevOps and that it was basically free for Open Source Projects, I jumped at the opportunity. I felt that Azure DevOps was fairly straightforward, intuitive and I will definitely be using it in the future.
Next, I will start the process of automating CI and CD for Blog.Michaeldeongreen.com, which is going to be far more complicated and of course, I will share my experience in a blog entry.