![]()
By default, when you use Quick Create in Hyper-v to create a Ubuntu Desktop VM, you will only be given 12GB of hard drive space. At this time there is no way to set the size of the hard drive before Quick Create provisions the Ubuntu Desktop VM. Luckily, you can use software called gparted to increase the size of the virtual hard drive.
Tools Needed!
- gparted
- Hyper-V
- Windows 10
Download gparted iso, which can be found here:
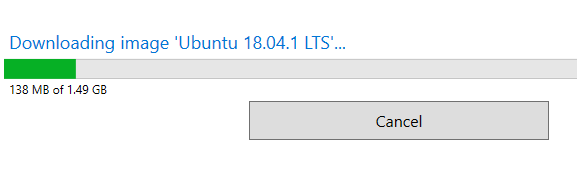
In Hyper-V, on the top menu, choose Action then Quick Create and Choose Ubuntu 18.04 LTS. Create Virtual Machine & wait for the image to download
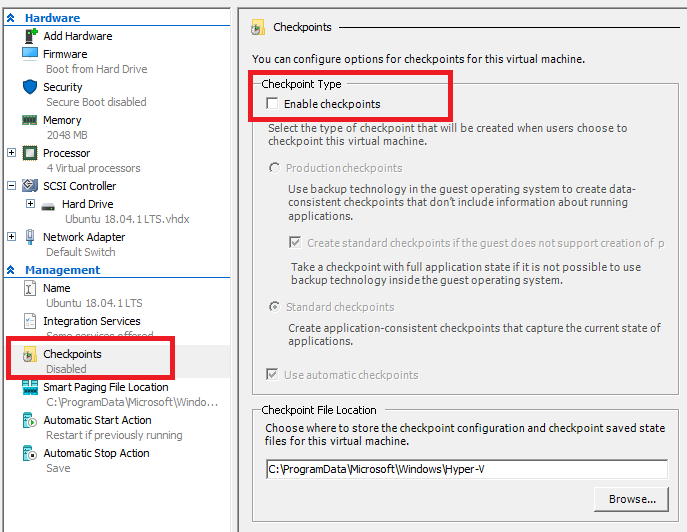
Once the image has been downloaded, choose Edit Settings and disable Checkpoints
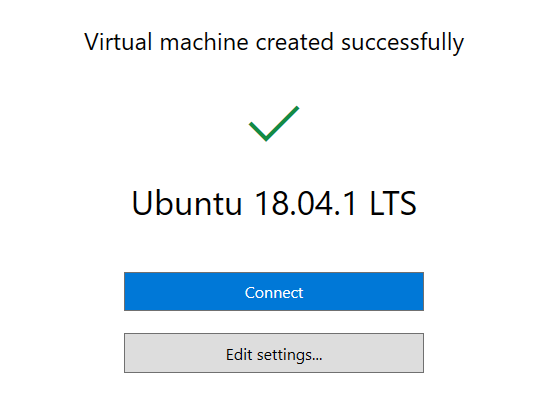
Go ahead and connect and start the Ubuntu Desktop installation
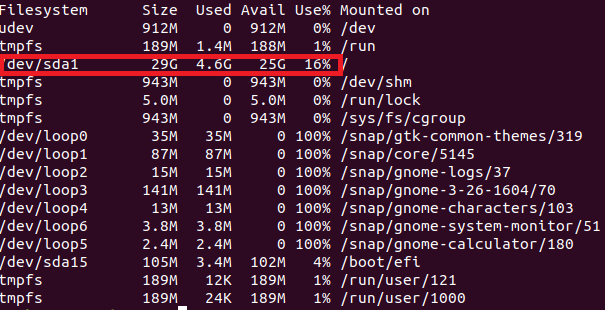
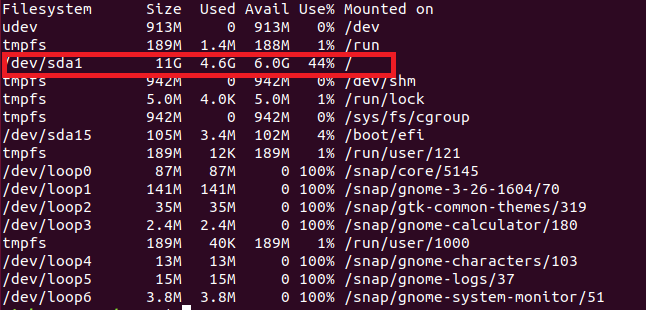
**Once done, log into the new VM, open up a terminal and type in
df -h
. You will notice that the main drive is at 44% capacity**
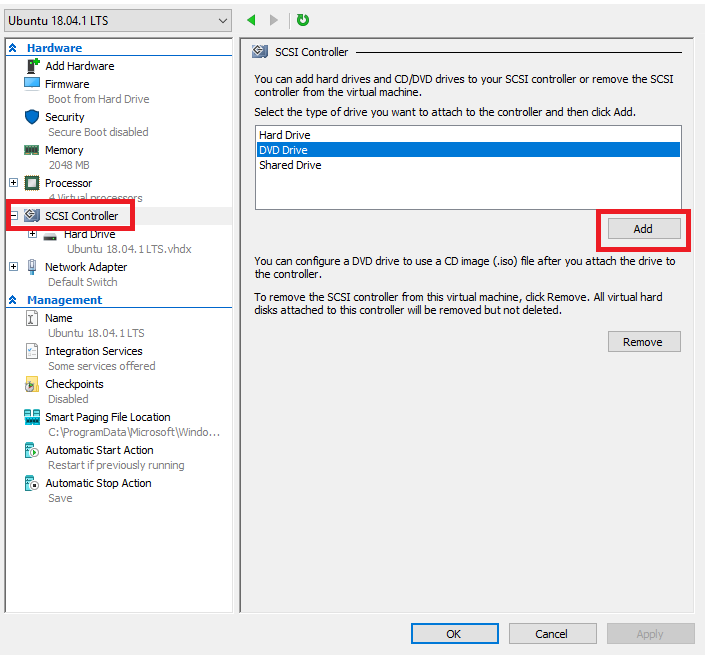
Once the installation is complete, shutdown your new VM. In Hyper-V, select your new VM and go to SCSI Controller and add a DVD Drive
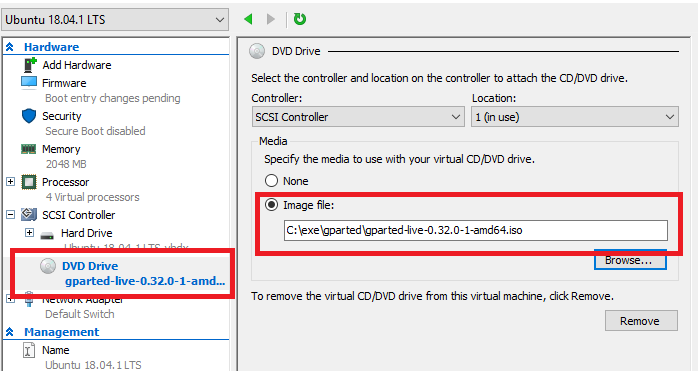
In the DVD Drive settings, point the image file to the gparted iso you downloaded
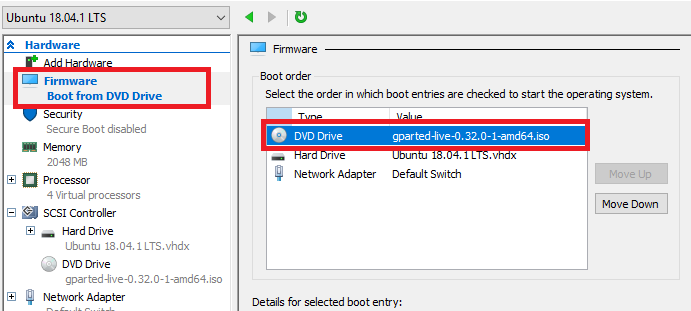
Next, go into the Firmware settings and move the DVD Drive up in the boot order section
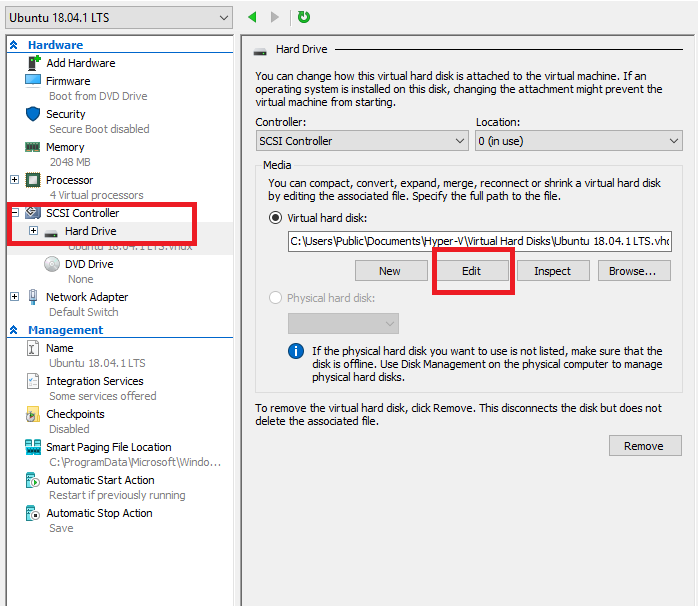
Next, we want to add more hard drive space, so go into Hard Drive setting under SCSI Controller and press Edit
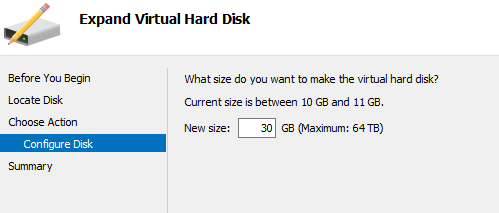
In the menu wizard, you want to choose ‘expand’ and add more hard drive space. I have chosen to make the drive 30GB.
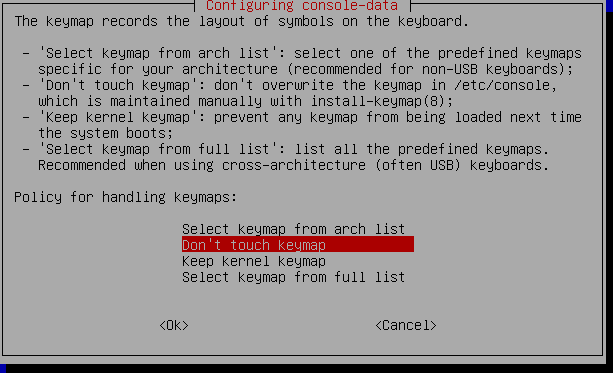
Connect to the VM. You will see the gparted menu and you can just push enter on everything
When you enter gparted, you will see the below and you will want to push Fix
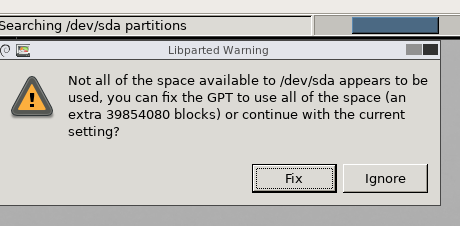
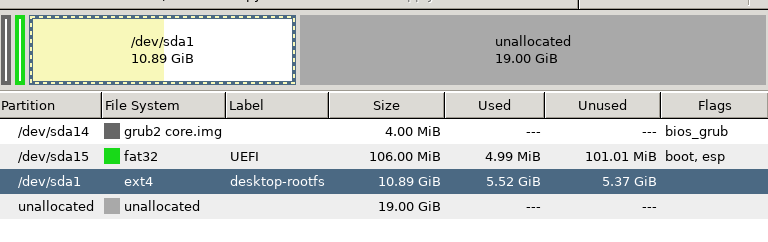
You will then be presented with disk information. Noticed the unallocated space at the bottom, which is the space we just added using Hyper-V

Next, you will want to choose your root drive (mine is /dev/sda1), right-click and choose Resize
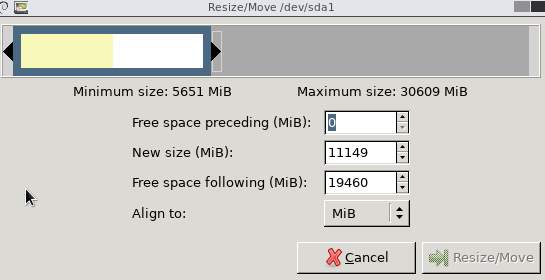
You will want to use the mouse cursor and hover over the right arrow and drag it all the way over to give drive/dev/sda1100% of the unallocated space and press Resize/Move
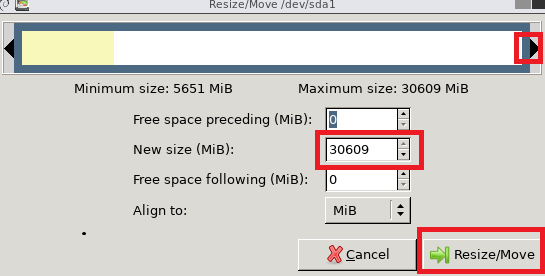
After this is done, press theApplybutton located in the top menu and selectApplywhen asked are you sure you want to perform the operation

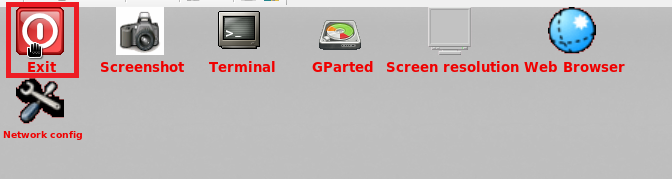
Once the space has been allocated, exit gdeparted by going to the top menu, selectingGPartedand then Quit. Once you go to the main gparted screen, choose Exit and then Shutdown
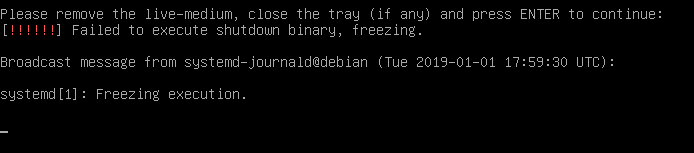
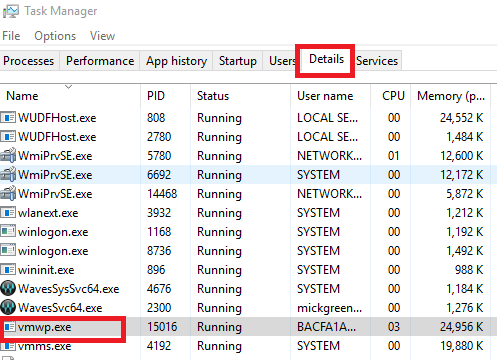
Note: If you get the error in the screenshot below (happens on my laptop but not my desktop), you will want to go into the Windows Task Manager, got to Details, find thevmwp.exeand end the task
**Now, connect to your VM, go to terminal and type in
df -h
Ubuntu should recognize the new space you just gave the hard drive via gparted**